
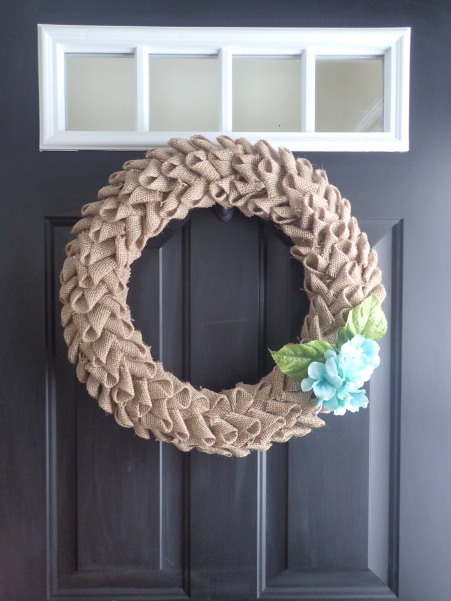
Yesterday I decided to embark on my first DIY project as a home owner- this beautiful burlap wreath!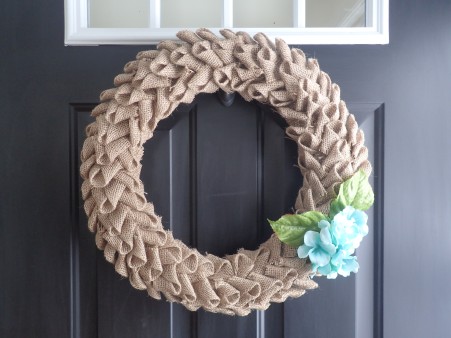
It’s barely been two weeks since we moved to the new house and every now and then I feel a little ache for my childhood home. Jeff and I have both been working hard to add our own personal touches to each room, but Rome wasn’t built overnight.
My mother always hung a wreath on our front door, so I thought having one of my own was fitting. Besides being nostalgic, a wreath adds a nice finishing touch to any home.
While this wreath is pretty easy to make, it does take some time and patience- it’s the perfect project for a snow day or lazy Sunday! Everything can be found at Michael’s, however I simply bought the burlap at Walmart to save some money.
What makes this wreath great year-round is that you can change out the accent pieces depending on the season or occasion. While I’ve opted for blue flowers, you could do whatever you’d like. You could even add red and pink hearts for Valentine’s Day or clovers for St. Patrick’s Day!
This project was inspired by an article I read on elvisduran.com– my favorite morning show!
I hope that you find this DIY helpful and that it adds a bit of coziness to the place you call home. 🙂
DIY All Season Burlap Wreath
You will need:
- 18″ straw wreath
- scissors
- ruler/ tape measurer
- 18″ x 15′ roll of burlap (enough for a 5″ x 10′ strand and approximately 120 4″ squares)
- 150 floral or greening pins
- accents of choice- flowers, ribbon, etc.
Instructions:
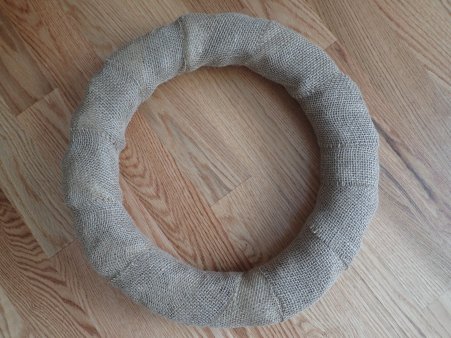
- Start by cutting out a strand of burlap about 5″ in width and 10′ in length and wrap the strand around the wreath, covering it completely. Secure ends of strand with floral pins.
- Cut out 120 4″ squares of burlap. (This is tedious work, but it only took me an hour to get them all cut. You may use more or less squares depending on how you lay them out. Toward the end I was hastily cutting, so the squares were less-than-perfect, but I’m still happy with the results.)
- Take one burlap square and fold it corner-to-corner, so it forms a half- diamond shape.
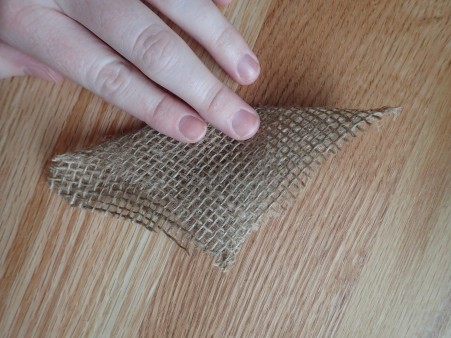 With the fold facing downwards, fold in the left and right corners to form a little “rosebud.”
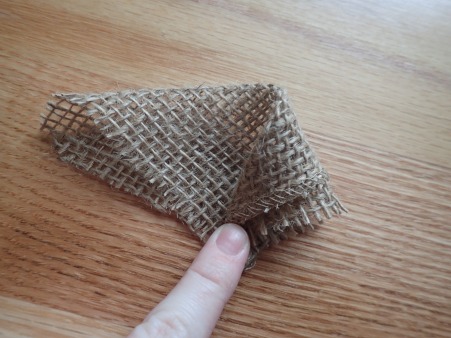
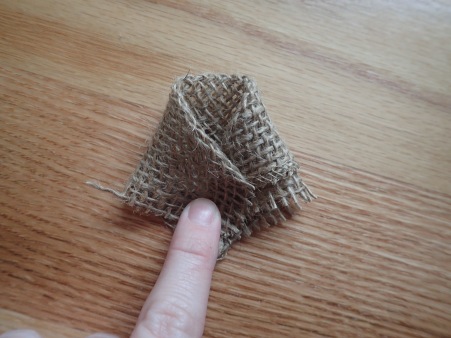 Pin the rosebud to the front of the wreath with a floral pin.
 Repeat until you’ve formed a circle of rosebuds around the front of the wreath. This is the first row.
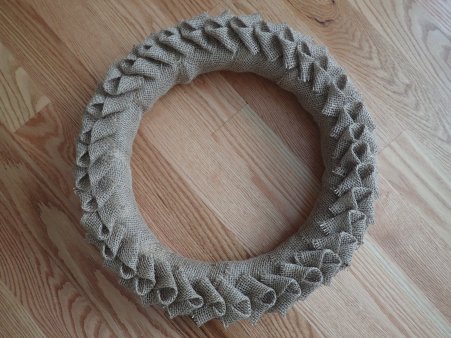
- Continue making rosebuds and form another row on the inside of the wreath:
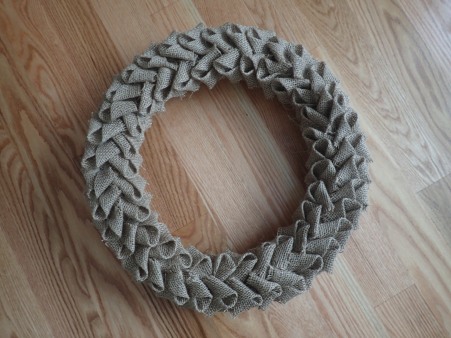 And the outside of the wreath:
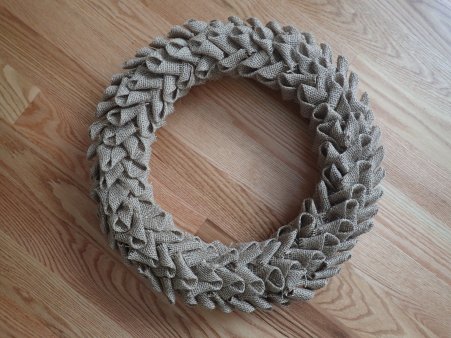 There will be three rows total when you’re done.
 - Finally, use your accent pieces to finish the wreath.
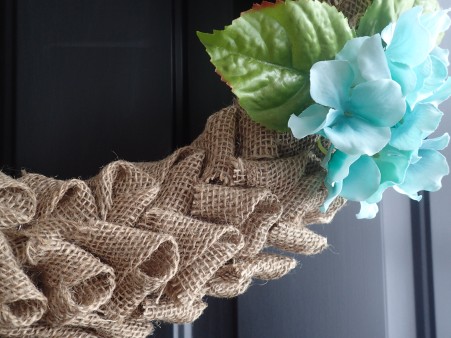 You can pin flowers or other decorations to the wreath with the floral pins. You could also add ribbon to the wreath to hang it- the possibilities are endless!
